Using Github Issues as a Jekyll frontend with Github Actions
Recently I switched from WordPress to using Jekyll via Github pages. I quickly got into the habit of dumping blog post ideas into issues on my blog’s repo. It’s a great way to iterate on them and get feedback on them before actually publishing them.
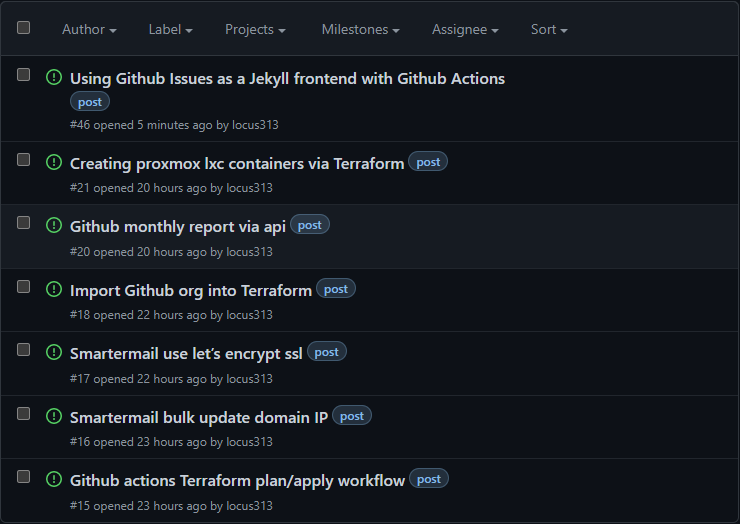
The ideas keep accumulating, now how to get them published quickly? By automating it a much as possible! While doing some research on how I could automate it via Github actions I came across this article: Using Github Issues as a Hugo frontend with Github Actions and Netlify
Now this isn’t exactly what I am looking to do, but it helped provide a base to start with.
Architecture
My blog is statically generated using Jekyll, the code is hosted on Github.
The blog post drafts are posted as Github issues, so how do we convert issues into pull requests? With Github Actions of course!
Github Action: Issue to Pull Request
My full workflow lives here if you want to jump ahead, but let’s break down the sections of the workflow.
I wanted to trigger the workflow once an issue is labeled with the ‘publish’ label, so let’s start with that:
1
2
3
4
5
6
7
8
9
10
11
12
name: publish-post

on:
issues:
types: ['labeled']

jobs:
build:
if: ${{ github.event.label.name == 'publish' }}
runs-on: ubuntu-latest
steps:
...
Next up we want to specify the steps, first is to check out the repo into the action’s environment:
1
- uses: actions/checkout@v2
Once the source code is available, we want to generate the blog post from the issue metadata. Here is what I used:
1
2
3
4
5
6
7
8
9
10
11
- name: Generate Post
env:
POST_TITLE: $
POST_BODY: $
run: |
preprocess_bin="$PWD/frontmatterify"
save_to="_posts"
cd "$save_to"
$preprocess_bin > "$-${POST_TITLE}.md" << EOF
$POST_BODY
EOF
This puts the body of the issue, which is already markdown, into a markdown file named based on the current date and title of the issue. This is a good place to add frontmatter, or slugify the title, or whatever else your blog setup requires.
And finally, we make the pull request using Peter Evan’s create-pull-request action which makes this super easy:
1
2
- name: Create Pull Request
uses: peter-evans/create-pull-request@v3
This is the minimum of what we need, but we can specify all kinds of additional options here: auto-deleting the branch, setting a custom title, body, and whatever else. Here’s an example of what I’m doing:
1
2
3
4
5
6
7
8
9
10
11
12
13
- name: Create Pull Request
uses: peter-evans/create-pull-request@v3
with:
delete-branch: true
title: "publish: $"
body: |
Automagically sprouted for publishing.

Merging will publish to: https://lo5t.com/$

Closes #$
reviewers: "$"
commit-message: "post: $"
Result
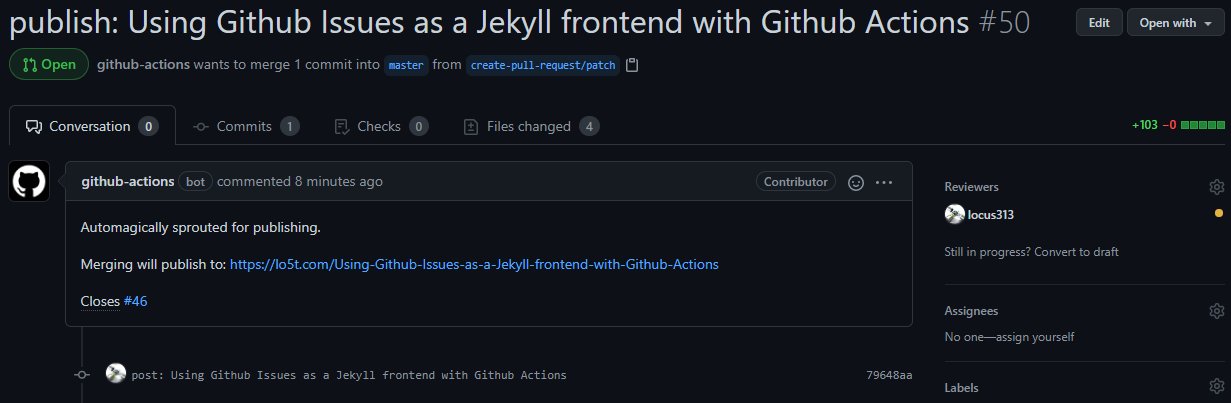
When my blog post draft is ready, I add the publish tag and the Github action starts the workflow, creating a pull request:

The pull request automatically pings me as a reviewer and includes a “Closes #X” line which will close the draft issue once the PR is merged. Very convenient!
I can make sure everything looks good, and even apply edits directly inside the pull request. This is another great step to send a long blog post for feedback, using all of the wonderful Pull Request Review features!
When all is said and done, merging the pull request triggers Github pages to publish the changes, and merging closes the original issue, and I’m done!
Bonus
Drag n’ drop images work in Github Issues, so it’s super easy to write a quick post with a bunch of screenshots.
However I do want to make sure I have local copies of the images, so the workflow makes sure that all of the published images are downloaded to my Github repo.
I can still make blog posts by pulling the latest repo, write some markdown, and push to publish.
I added the frontmatterify script that was originally created by Andrey Petrov to process the incoming markdown and convert the remote Github Issue uploaded images into local images that are included in the pull request. The script also generates frontmatter that is used by Jekyll. It required a little tweaking to get it working for my use case.
Now to start publishing.